Do you know what 5S means? The 5S System is a lean manufacturing tool designed to improve productivity through organization, identification, maintenance and sustainability. 5S is comprised of five continuous improvement steps:
Remove unnecessary items from the work area.
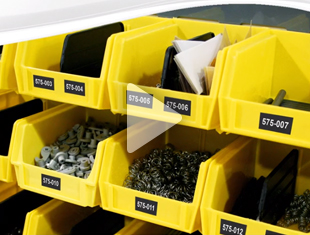
Set in Order. Set things in proper place for quick retrieval and storage.
Clean the workplace. Everyone should be a janitor.
Assign tasks and create schedules so everyone knows their responsibilities.
Make it a way of life. This means commitment towards a long-term goal.
To receive a free copy of our 5S System Guide, visit GraphicProducts.com.